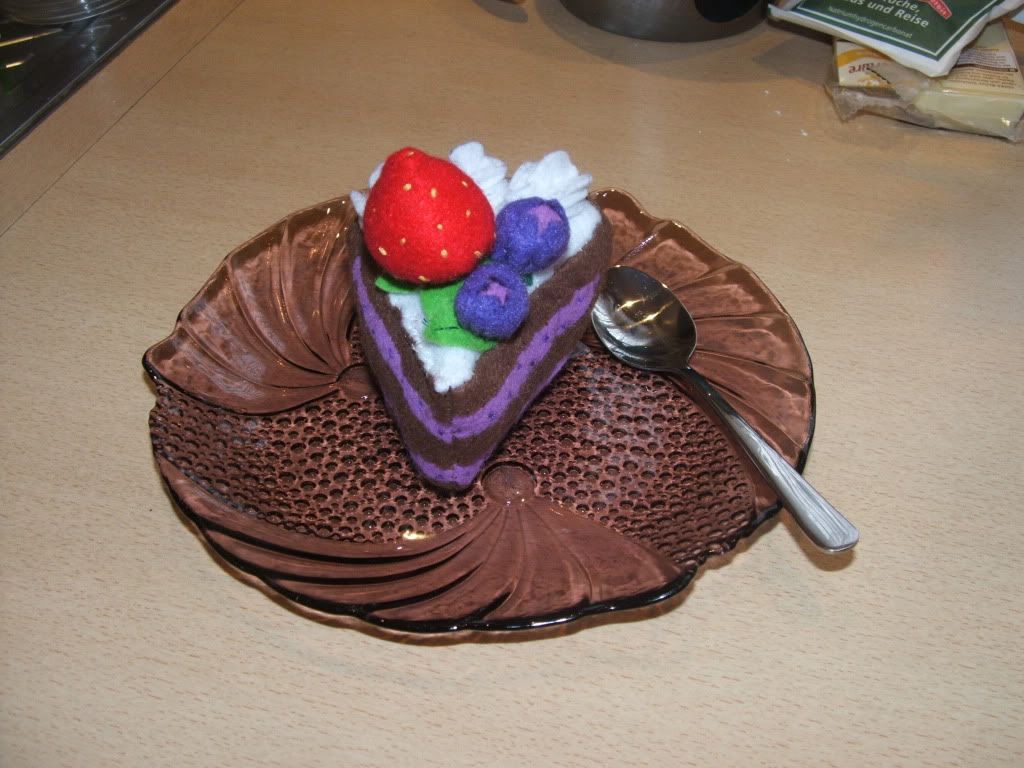
Hello fellows, here comes a very sweeeeet possibility to create a present for your loved ones (if they like sweet things, of course).
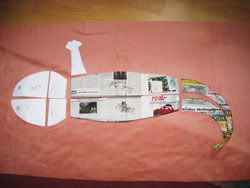
 I took a photo of the pattern I used and tried to mark it for better understanding. Sitting at my parents home I can't use another program to draw on the computer, which would not be any better, anyways. >D
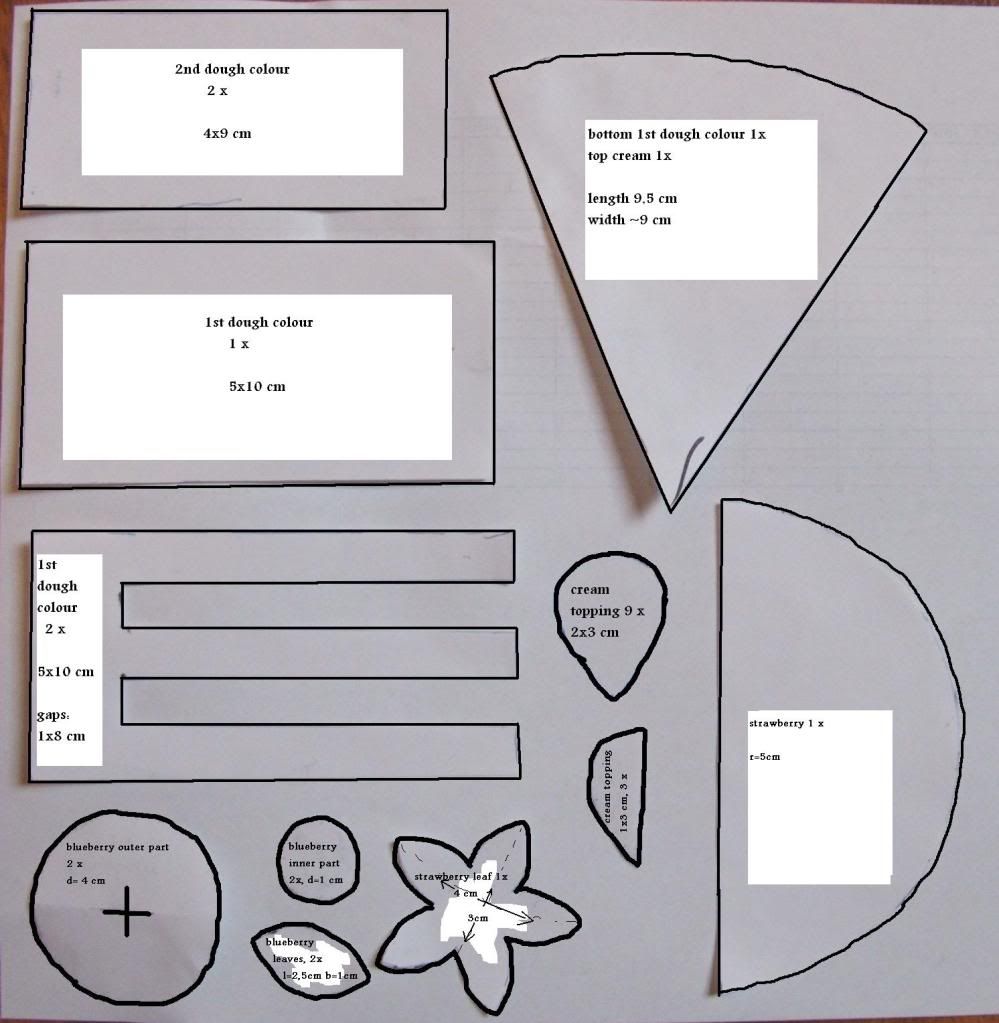 (click to enlarge)
I acutally used a pattern, decembersong got from some friends a little while ago. It was a Japanese handicraft box including the pattern plus felt.
So this is what you need:
the pattern
different colours of felt
some wad/cotton wool for making plushies, e. g.
scissors
needle/s and threads in matching colours
maybe some glue
I used
middle brown as 1st dough colour
light violet as 2nd dough colour
white for the cream topping
dark violet and light violet for the blueberry
red for the strawberry
light and dark green for the leaves
First, cut out all the patterns. Then start sewing the side parts of the cake. Sew the part of the 1st dough colour with the gaps and the littler 2nd dough part together using a thread coloured like the 1st dough. Sew the side parts on the side where the gaps are, together. You may add some little dots in a different (darker) thread-colour onto the the 2nd dough colour to make it look like there were pieces of fruit in it.
When finished attach the side parts to the bottom part, then add the back part (it's the biggest square on the pattern labelled 1st dough colour, 1x).
Start sewing the top part onto the cake, but leave a little part of it open to fill in the wad, until it's a puffy piece of cake, then close the gap.
Now you can start making the decoration:
Use some yellow thread to apply little dots on the red strawberry felt, then loosely sew a thread through the round part of it. Leave some thread at the end and don't make a knot. Then bend the felt, so it looks like a little cone and sew the straight parts together. After that stuff some wad into the cone and pull on the thread you left at the round part of the strawberry, it will kind of riffle right now and close around the wad. Pull tightly and then sew through the bottom part of the strawberry to ensure that it won't open again.Now attach the strawberry leaf with green thread.
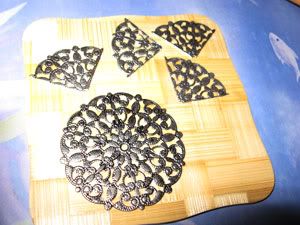
For making the blueberries, cut the cross in the middle of the bigger circle, then sew or glue the little circle onto it. Now sew a loose thread round the edges of the bigger circles each and leave some at the end, not making a knot again. Fill in some wad and pull the thread like you did with the strawberry.
For the little leaves use some lighter or darker thread to sew a line on them, so it looks like a leaf vein, then attach them to the blueberries.
Now you have to sew the cream topping. Sew 3 of the drop-shaped white felt parts together by sewing a line from one end to the other. Then add one of the 3 "half-drops" at the top. I guess you will have to twitch a little until it looks nice.
When finished, add the decoration to the top of the piece of cake.
First, sew the cream topping onto the back edge of the white cream top part. Then place the strawberry and the blueberries in the middle.
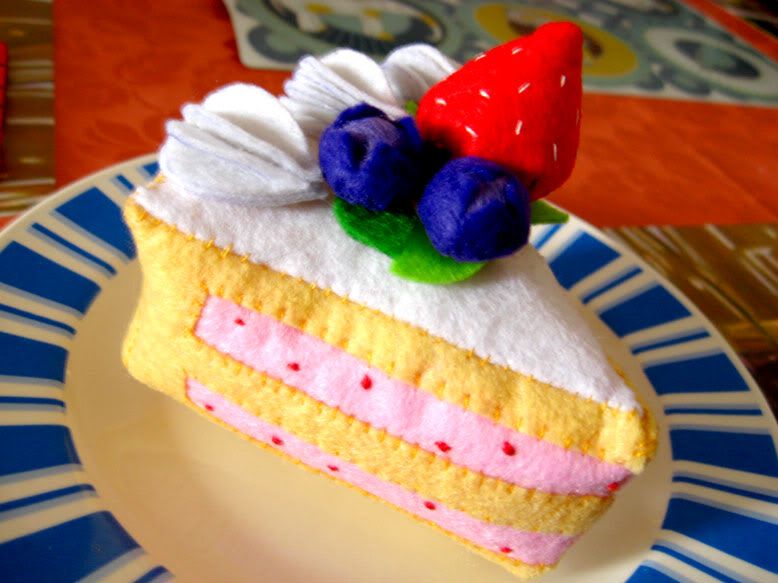
Tadaaa~ finished.
You can either give this away as a present or decorate your home with it. :)
Here you can see the cake, decembersong sewed:
Follow me
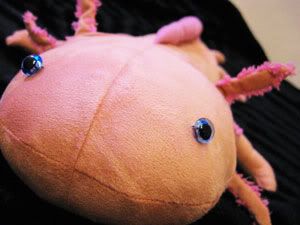
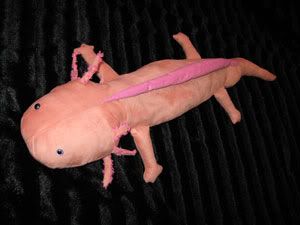
 Axolotl picture taken from here.